Doing new tests with a dry-erase marker set up due to issues with paint flow in the airbrush. Found it to be much more straightforward and what we'll be using in Detroit for demonstrations.
Maker Faire Detroit 2010 is a faire for Makers. We made something so we are going. Check out the promo video they put out. On the 0:19 - 0:20 (an entire second) you can see our machine printing some goodness!
After reconfiguring the Z-Axis control we proceeded to make a drawing consisting of (roughly) 1700 dots. It took around 100 min for it to complete the entire drawing and we only ran into one clogging issue along the way, maintaining the dot size and spread fairly consistently.
There have been about 4 or 5 moments when Nick and I have given each other a high five after doing something with this machine... and this was one of those. The first successful 2.5 axis vector plot. We had a couple more kinks to work out, but a $5 run to the hardware store and 15-min of work were all it took.
After the plane we moved on to a new drawing. We wanted to do a drawing that only the machine could do and not a skilled human with an airbrush. Well... maybe someone else could do it, but it would be difficult.
Our machine reads (code) at a first grade level. You can kind of tell what it is trying to do, but it's pretty sloppy. Many things need changing, but it is just fine tuning. Each drawing should get successively better from here on.
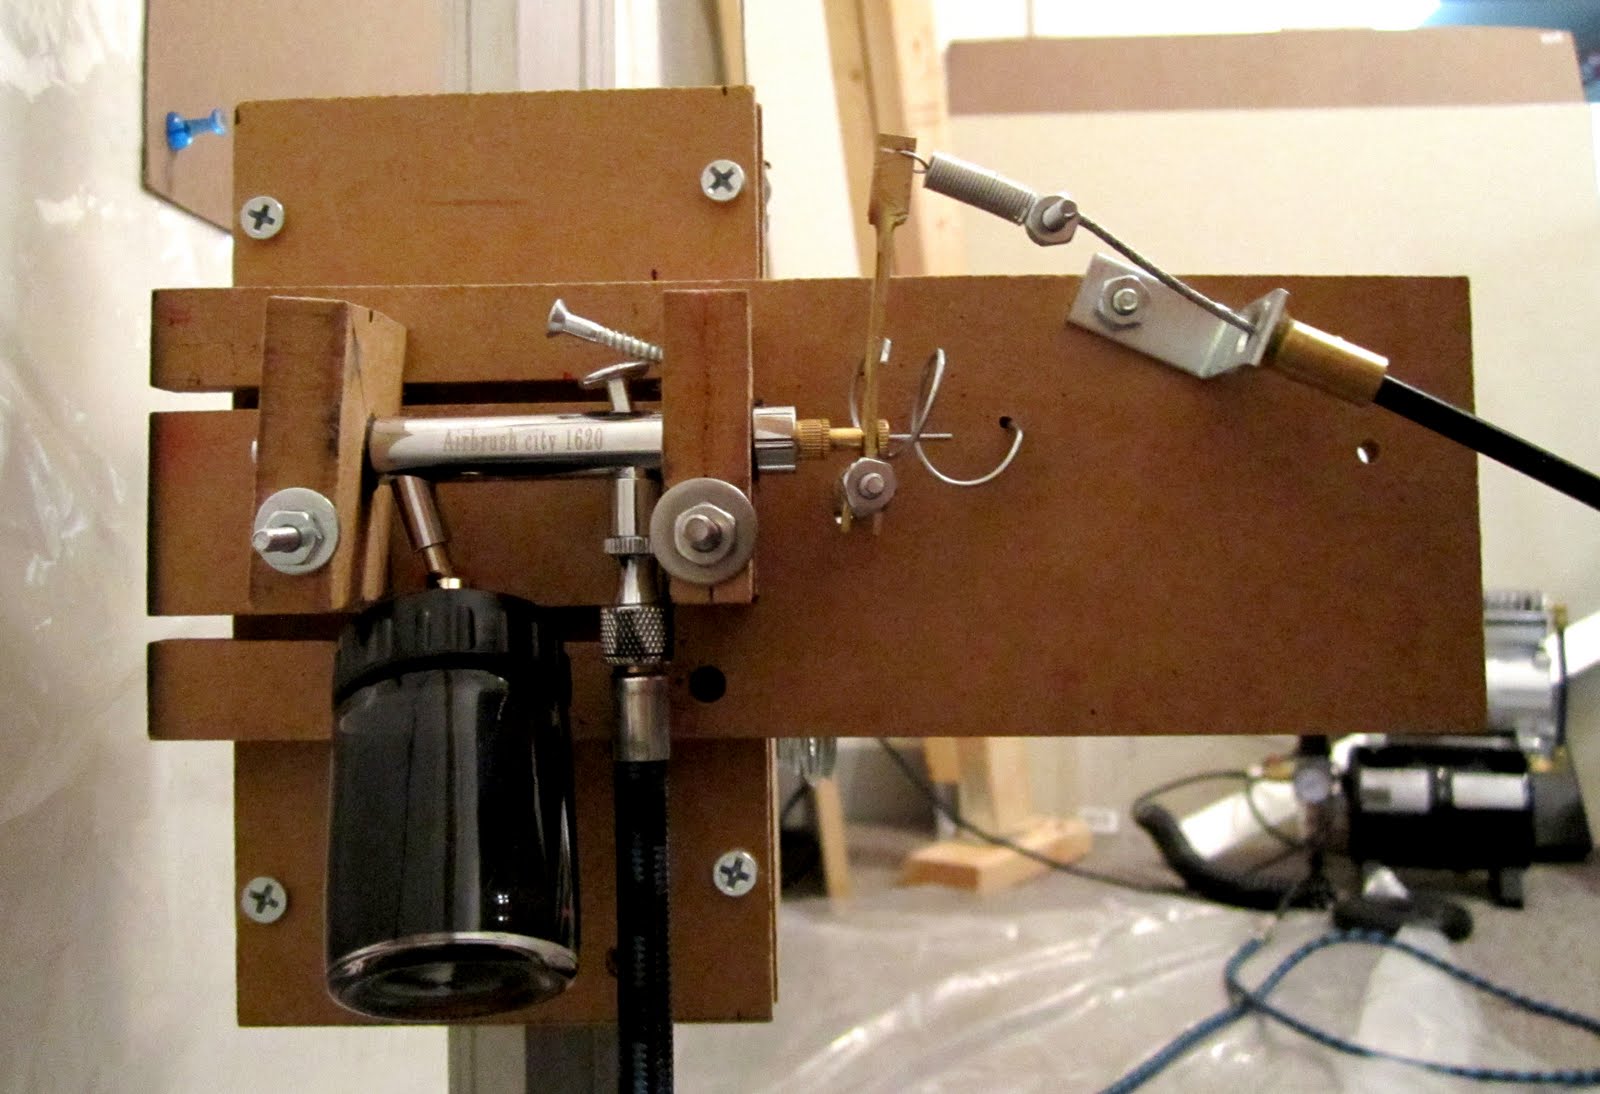
Using an 8 foot brake cable line from Sunflower Outdoor as a remotely located motor control, testing its ability to maintain strength through bends and in directional transfers. This may be the last piece towards full functionality. Now we can simply build several 'media heads' that attach to the y-sled and each are dedicated to a specific media type ie airbrush, dry erase marker, chalk, etc.
Thursday, April 15, 2010
Technically, Nick opened this fortune cookie, but I was with him at the time so I will assume that the "You" referred to here is plural.
The machine gets better every time we work on it. A small tweak here and there, making sure nothing will break later on. Most the work recently has been moving the Z axis motor from the Y axis sled to the X axis sled (I think Nick and I have developed our own language to describe the project). The good news is that two potential clients have proposed projects for our machine. We will see where those lead too.....
With the X and Y axes mostly completed, it was time for our first test. The Z axis that controls the moving of the pen off the board was not yet installed. Hopefully we will have that running soon. There is also a large amount of fine tuning to be done, but this big step keeps us motivated.
We completed our first test of the entire assembly. The x and z axes are working great but the y axis is horrible. First, it would only go down, then when we got it to go up it would sometimes slip. Once we got those problems fixed, we realized that when the sled would move up and then down and then back up, to what should have been the exact same position, it was about 5% lower than the origin point. We think we have a solution, but only the next test will tell.
This is the first test with the x axis and y axis working. It has 2 problems.
1) Its lying on the floor (because we haven't build the legs yet).
2) The little Y axis sled can only go in one direction right now because of a.... mmm.. I'm going to call it a technical issue.
It draws about as well as I construct sentences, all not good like. I also just couldn't come up with a name for this post. It is by no means a "first test" because this was just a marker stuck to the sled with tape and glitches. Work continues to improve on this thing.
p.s. Why is it so ridiculously difficult to format the text around these photos!?!? A simple text wrap is all I want.


.jpg)

.jpg)
.jpg)
.jpg)
.jpg)


.jpg)

.jpg)
